Creating a personalised greeting card is a thoughtful way to show someone you care. Whether for a birthday, holiday, or to say “thank you,” a personalised greeting card can bring joy to the recipient and show them that you put in the effort to make something special just for them. Here are some steps to follow to create your personalised greeting card:
- Decide on the occasion and theme: First, decide on the occasion for the card and choose a theme that matches it. For example, if it’s for a birthday, you could choose a birthday cake or balloons as the theme. You could choose a seasonal theme for a holiday, such as snowflakes for Christmas or pumpkins for Halloween.
- Choose your materials: Next, choose the materials you’ll use to make your card. You can use cardstock, construction, or even plain printer paper. You’ll also need some glue or double-sided tape, scissors, and any decorations you want to add to the card, such as stickers or glitter.
- Sketch out your design: Before you start cutting and glueing, sketch your design on scrap paper. This will give you an idea of how the card will look and allow you to make any changes before you start working on the final product.
- Cut out your card: Once you have your design sketched out, it’s time to cut out your card. Fold your paper half to create the card base and cut it to the desired size. You can also use a paper cutter if you have one to make sure the edges are straight.
- Add your decorations: Now, it’s time to add them to the card. Use glue or double-sided tape to attach any stickers or other embellishments you want to include. Drawing or writing a message on the card can add a personal touch.
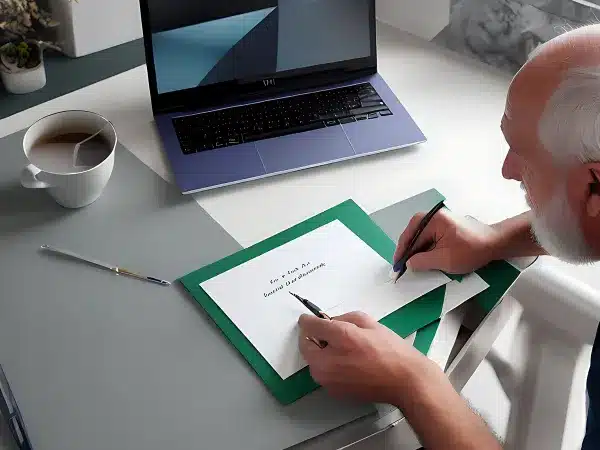
- Finish with a personal touch: Finally, add a personal touch to your card by including a handwritten message or a special note. This will show the recipient that you put in the effort to create something unique for them.
Creating a personalised greeting card is a simple and meaningful way to show someone you care. By following these steps, you can create a one-of-a-kind card that will bring a smile to the recipient’s face. Remember to have fun and let your creativity shine through as you create your personalised greeting card.
Creating a greeting card digitally
An online graphic design platform such as Canva allows users to create professional-looking designs without prior design experience. A personalised birthday card is one of the many things you can create with Canva. In this article, we’ll take you through creating a personalised birthday card using Canva.
Step 1: Sign up for Canva
The first step to creating a personalised birthday card using Canva is to sign up for an account on their website. You can sign up for a free account or upgrade to a paid account to unlock more features.
Step 2: Choose a template
Once you sign up for an account, you can log in and create your birthday card. Canva offers a wide range of templates, including birthday card templates. You can browse the templates or use the search bar to find a template that suits your needs.
Step 3: Add a personal touch
After you have chosen a template, it’s time to add a personal touch. You can add your text, images or even videos. Canva allows you to upload your images or choose from their extensive library of free and paid images. You can also add your text by simply clicking the text box and typing in your message.
Step 4: Customise the design
Canva offers a wide range of design tools to customise your birthday card. You can change the background colour, add shapes or lines, and adjust the font style and size. Canva also offers a range of filters and effects to make your design stand out.
Step 5: Preview and download
Once you have finished customising your birthday card, it’s time to preview and download it. Canva offers a preview feature that allows you to see what your design will look like when printed. Once you are happy with the design, you can download it in various formats, including PDF, PNG, and JPEG.
Step 6: Print and send
The final step is to print and send your personalised birthday card. You can print your card at home using your printer or choose to have it printed professionally. Canva also offers a range of printing services that allow you to have your card printed and delivered directly to the recipient.
In conclusion, creating a personalised greeting card using Canva is a simple and easy process that anyone can do. With Canva’s wide range of templates, design tools, and printing services, you can create a professional-looking birthday card to impress the recipient. So why not give it a try and create a personalised birthday card for your loved ones today?


